How to Go Trekking in Nepal from India: A Step-by-Step Guide

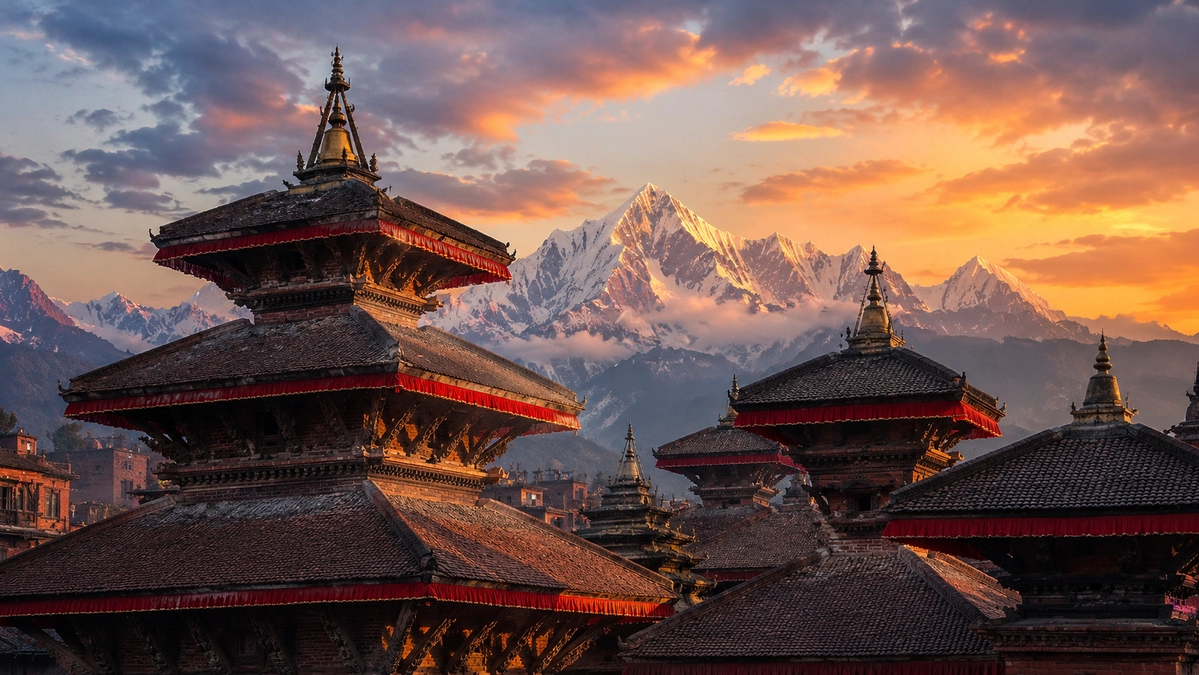
Trekking in Nepal from India can be easier to plan than it first seems. It is still different from booking a regular holiday, because you need to choose the right route, plan transport into the mountains, prepare documents, and keep some cash and flexibility for the trail.
The good part is that you do not need to solve everything at once. Once you understand the order of things, the planning becomes much simpler. This guide walks you through the process from choosing a trek to arriving in Nepal ready to begin.
Quick Answer for Indian Trekkers
- No Nepal visa is needed for Indian citizens. For air travel, carry a valid Indian passport or an original photo Voter ID issued by the Election Commission of India.
- Choose the trek first. Your route decides whether Kathmandu or Pokhara makes more sense, how many days you need, and how much travel you must add.
- Count the whole trip, not just trekking days. Keep time for reaching Nepal, getting to the trailhead, and at least some flexibility after the trek.
- Budget in three parts: travel from India, the trek costs arranged before departure, and personal spending on the trail.
- Spring and autumn are the easiest seasons for most first trips. Winter and monsoon can still work, but you need the right route and realistic expectations.
Step 1: Choose Your Trek, Season, and Number of Days
Start with the time you can realistically take away from work, college, or family commitments. That is usually a better starting point than choosing the most famous trek online.
Your available days will affect the route, the budget, the travel plan, and how much pressure you put on yourself at the end of the trip.
The days listed below are mainly trekking days in Nepal. You should still add time to reach Kathmandu or Pokhara, travel to the trek starting point, and return after the trek.
Short Treks: 4–6 Days
A short trek can still give you a real Himalayan experience if you have limited leave. Ghorepani Poon Hill and Mardi Himal are common first choices because they offer mountain views, village stays, forests, and several proper days of walking without needing a long holiday.
Short does not automatically mean easy. You may still hike uphill for several hours a day, often on stone steps and uneven trails. Choose a shorter route because it suits your time, fitness, and comfort level, not only because it has fewer days.
Moderate Treks: 7–10 Days
For many first-time trekkers, this is the most practical range. It gives you a fuller journey without taking too much leave. Annapurna Base Camp and Langtang Valley are popular choices in this category.
Annapurna Base Camp takes you steadily higher toward the Annapurna Sanctuary, while Langtang follows a Himalayan valley through forests, villages, and yak pastures before reaching Kyanjin Gompa.
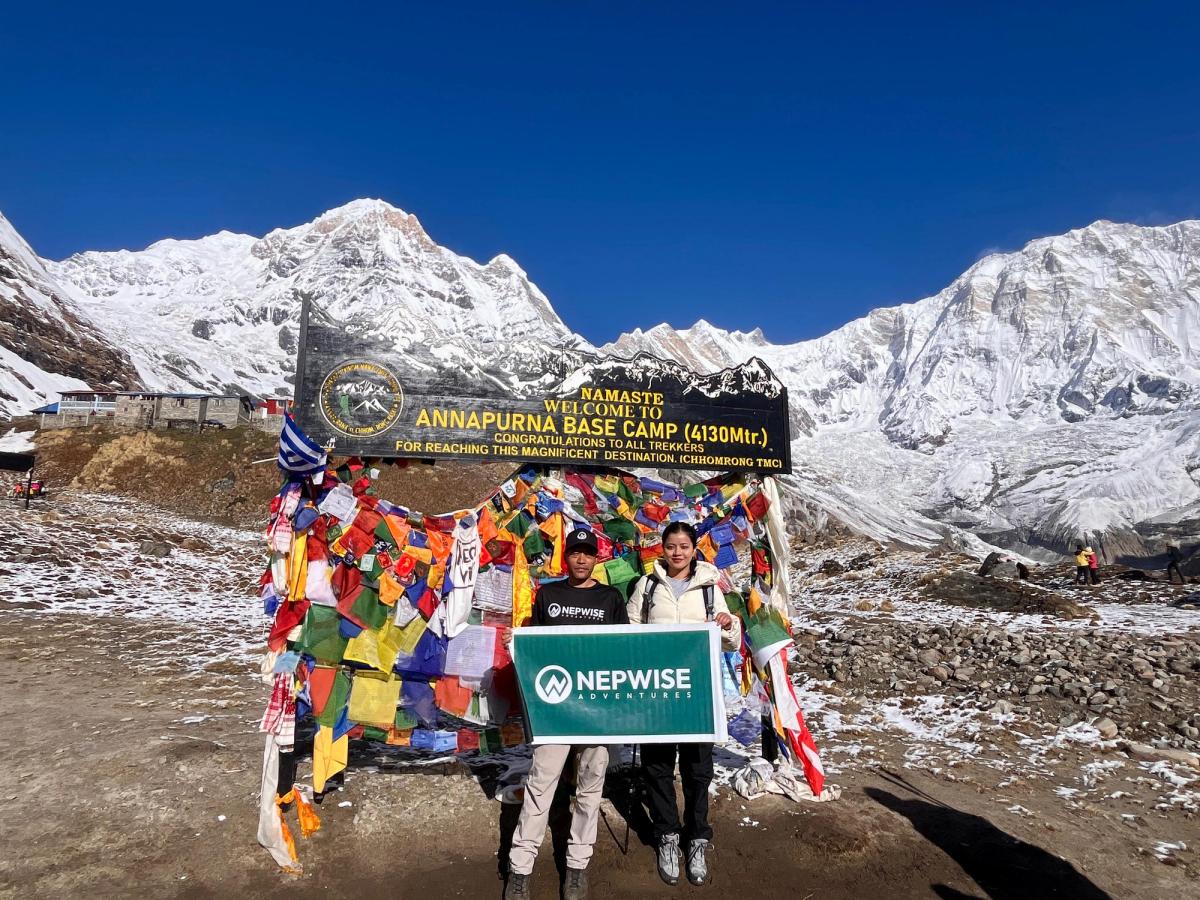
These routes involve more hiking days and more serious altitude than a short viewpoint trek. They suit people who want a deeper mountain experience and are ready to prepare a little more carefully.
Longer Treks: 12 Days or More
Longer treks are for travelers who have more time and want a bigger Himalayan journey.
Everest Base Camp usually takes around 12-14 days from Lukla, while the Annapurna Circuit and Manaslu Circuit often need even more time and can involve higher altitude, longer travel days, more remote conditions, or all three.
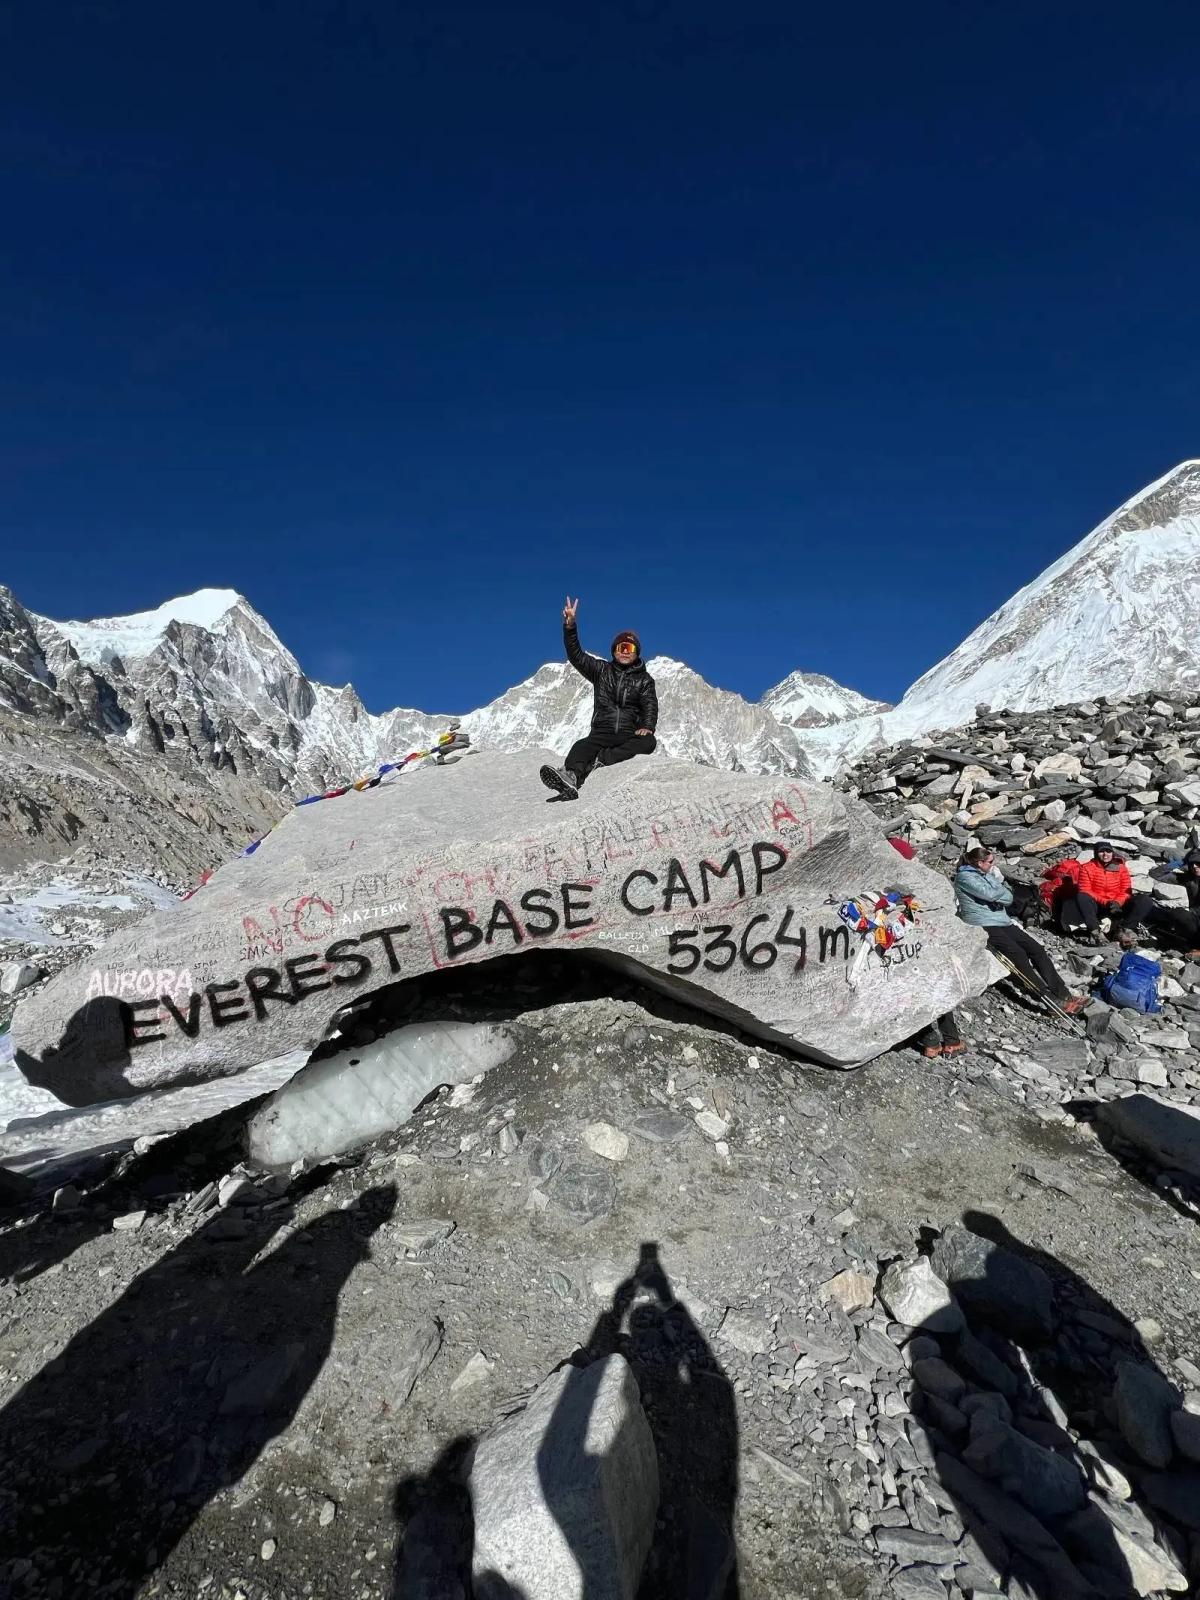
The final number of days can change depending on your route, road conditions, transport plan, and acclimatization days.
Do not keep your return to India too tight for these routes. Weather, road conditions, mountain flights, and your pace on the trail can all affect the schedule.
Keeping at least one or two extra days after a longer trek can save a lot of stress.
Choose the Season That Suits Your Route
For most first-time trekkers, spring and autumn are the easiest seasons to plan around.
Spring usually brings warmer days and rhododendron blooms on many routes. Autumn comes after the monsoon and is known for clearer mountain views and more stable conditions.
Winter can work well for lower and moderate routes if you are prepared for cold mornings and possible snow at higher points. Monsoon trekking is possible too, but rain, cloud cover, slippery trails, road delays, and flight disruption make the trip less predictable.
Step 2: Check Your Travel Documents
Before booking flights, trains, or other non-refundable transport, make sure your documents are ready. Indian citizens do not need a tourist visa for Nepal, but you still need to carry the correct original identity document and share the right details for trekking permits.
Do Indians Need a Visa for Nepal?
No. Indian citizens do not need a tourist visa to enter Nepal. You can travel to Nepal for trekking without applying for a tourist visa first. You must still carry an accepted travel document that proves your identity and nationality.
Passport or Voter ID: What Should You Carry?
For travel by air between India and Nepal, the Embassy of India in Kathmandu lists two accepted documents:
- A valid Indian passport
- An original Indian Voter ID card with a photograph, issued by the Election Commission of India
For most first-time trekkers, a passport is the simpler option. It is easier to use for airline check-in, hotel registration, trekking paperwork, and any changes to your travel plans.
Do not rely on Aadhaar, PAN, a driver's license, or a downloaded Voter ID printout for air travel to Nepal.
For road entry, carry the same original passport or Voter ID you will use throughout your trip, and confirm the requirements with your transport provider or border point before you travel.
Details Needed for Trek Permits
Your trekking company will normally ask for a few details before it can prepare permits. The exact list depends on the route but usually includes:
- Your full name exactly as shown on your travel document
- A clear copy of your passport or Voter ID
- Date of birth, nationality, and document number
- A recent passport-size photo
- Emergency contact details
- Your trek dates and planned route
- Any relevant dietary needs or health concerns
Send these details early and check every spelling carefully. A small error in a name or document number can delay the permit process.
Step 3: Decide How You Will Travel From India to Nepal
For most travellers, the decision comes down to time versus flexibility. Flying to Kathmandu is usually easier when you have limited leave. Train and road travel can work well when you have more time and want to keep the journey budget-conscious.
Flying to Kathmandu
Flying to Kathmandu is usually the simplest option for first-time visitors and shorter trips. It works especially well for Everest Base Camp, Langtang Valley, Manaslu Circuit, and other routes that begin with preparation in Kathmandu.
Try to keep one full day in Kathmandu before your trek begins. This gives you room for flight delays, gear shopping, a final briefing, permits, or simply some rest before heading into the mountains.
Travelling by Train and Road
Train and road travel can be a budget-friendly option if you have more time and do not mind a longer journey. It usually means taking a train to an Indian border town, crossing into Nepal, and then continuing by bus or private vehicle.
Three common routes are:
- Raxaul–Birgunj: Often more practical for travelers continuing towards Kathmandu.
- Gorakhpur–Sunauli–Bhairahawa: Often more convenient for Pokhara, Lumbini, and the Annapurna side of Nepal.
- Siliguri–Panitanki–Kakarbhitta: A useful option for travelers from West Bengal, Sikkim, Darjeeling, Siliguri, and nearby parts of Northeast India.
This route can save money, especially for travelers closer to the border, but it is not always cheaper once you add train tickets, transfers, meals, and possible overnight stays.
Choose it when you have time to spare, not when you need to begin the trek quickly.
Reaching Pokhara for Annapurna Treks
Pokhara is the main base city for many Annapurna-region treks, including Ghorepani Poon Hill, Mardi Himal, and Annapurna Base Camp.
You can reach it by road after entering through Sunauli–Bhairahawa or travel via Kathmandu and continue by road or domestic flight.
The best travel choice is the one that gives you enough time to arrive, prepare, and start trekking without rushing. Saving a little money is useful, but not if you arrive tired, delayed, or stressed before the trek even starts.
Step 4: Arrange the Essentials Before the Trek
Once your route and travel dates are clear, arrange the parts of the trip that need planning before you enter the mountains. This usually means your guide, permits, transport to the trailhead, and an accommodation plan.
The exact arrangements depend on the trek. A short tea-house trek near Pokhara is much simpler to organise than a longer trek in the Everest region or a restricted-area trek such as Manaslu or Upper Mustang.
Guide and Trekking Permits
Guide and permit requirements depend on the route. Nepal Tourism Board's current TIMS guidance covers most major Himalayan routes, but you should always check your own trek rather than assuming one rule applies everywhere.
A registered trekking company can normally confirm the requirements and arrange the documents before the trek begins.
Depending on the route, this may include:
- A TIMS card
- A national park or conservation-area entry permit
- A special permit for a restricted area
Restricted-area treks need more planning. Manaslu, Tsum Valley, and Upper Mustang require special permits arranged through an authorized trekking agency.
They can also have extra rules about group size, guide arrangements, and the route you follow.
Transport and Tea-House Accommodation
Most treks begin with a road journey or domestic flight from Kathmandu or Pokhara. Your plan should cover both the trip to the trailhead and the journey back after the trek ends.
On established routes, you usually stay in tea houses or simple mountain lodges. They provide a place to sleep, eat, charge devices, and rest before walking again the next day. More remote routes may have fewer options, more basic facilities, or occasional camping support.
In busy seasons, a guide or agency helps by planning sensible daily stops and arranging rooms as the trek progresses. That is more practical than trying to solve accommodation yourself after a long day of walking.
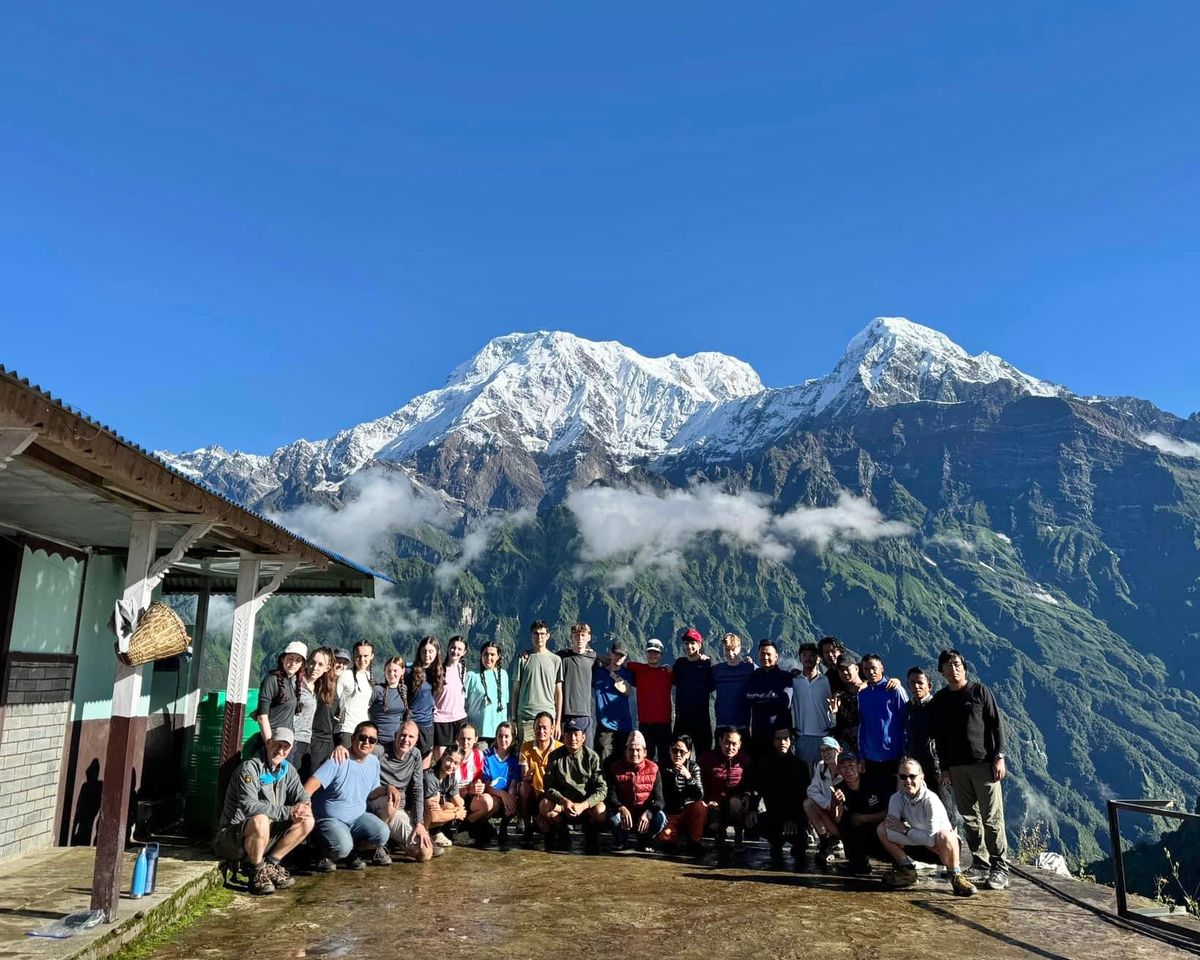
Fixed Departure or Private Trek?
A fixed departure has fixed dates and may include other travelers.
It can be a good choice for solo trekkers, one or two friends, or anyone whose travel dates are flexible — and it can make the trek feel more social, since you walk, eat, and share the experience with a small group.
A private trek is planned around your own dates, group, and pace. It can suit families, couples, friends traveling together, or people with limited leave who need a more specific schedule.
Neither option is automatically better. Choose based on your dates, budget, comfort level, and whether you prefer a shared group experience or a trek planned only for your group.
To understand how fixed departures, private treks, and personal trail expenses work with Nepwise, see how Nepwise works.
Step 5: Understand Your Full Trek Budget
Before booking, look at the total trip cost — not only the package price shown on a website. Your budget normally has three parts:
- Travel from India to Nepal
- The main trek costs arranged before you start trekking
- Your personal spending on the trail
The final amount depends on the route, number of days, group size, travel style, and how much comfort you want each day.
A shorter trek may cost less overall, but a low package price does not automatically mean the whole trip will be cheaper.
Costs You Usually Pay Before the Trek
Depending on your route and booking, these may include:
- Transport from Kathmandu or Pokhara to the trek starting point
- A licensed trekking guide
- Trekking permits and paperwork
- Accommodation during the trek, where it is included
- Domestic flights, where the route requires them
- Meals and drinks, if included in your booking or selected as an add-on
- Porter service, if you choose to add one
Not every company includes the same things in its price. Before paying, ask exactly what is included, what is not included, and what you will pay directly later.
For group treks, the guide price per person may reduce when more trekkers join. This is usually a group-size discount, not one guide cost being divided equally between every trekker.
Permit Examples for Indian Travellers
Permit costs depend on the trekking region. Indian travellers are charged at SAARC rates for many park-entry permits, while restricted-area treks follow a separate permit system.
| Trek or Permit | What You May Need | Current Cost for Indian / SAARC Travellers |
|---|---|---|
| Langtang Valley | Langtang National Park entry permit | NPR 1,500 per person |
| Everest Base Camp | Sagarmatha National Park entry permit & Khumbu Pasang Lhamu Trek Card | NPR 1,500 per person & NPR 2,000 per person |
| Manaslu Circuit | Restricted-area permit | USD 100 per person for the first week from September to November |
| Manaslu Circuit | Restricted-area permit | USD 75 per person for the first week from December to August |
| TIMS Card | Trekker Information Management System card | NPR 1,000 per person |
Permit rules and rates can change. Before booking any non-refundable travel, confirm with your trekking agency about the permits needed for your exact route and the current total cost.
Daily Expenses You Pay on the Trail
Whether meals and drinks are included depends on the trek package you choose.
Some packages include them, while others arrange the main trekking logistics and leave you to pay for food and personal expenses during the trek.
If meals are not included in your booking, you will usually pay directly at tea houses along the route. These expenses may include meals, hot drinks, water, snacks, charging, Wi-Fi, hot showers, and other small extras.
Two people doing the same trek can spend very differently. One person may choose simple meals and skip extras, while another may order more hot drinks, use Wi-Fi, take hot showers, or buy snacks each day.
A Practical Daily Spending Range
If your accommodation is already included but meals and personal extras are paid separately, a realistic daily budget is often:
- Annapurna and Langtang treks: around NPR 3,000–5,000 per person, per day
- Everest and higher Khumbu treks: around NPR 4,000–6,000 per person, per day
These ranges cover three simple meals, drinking water or refills, a few hot drinks, and normal extras such as charging, Wi-Fi, or an occasional hot shower.
They do not include accommodation if you are paying for rooms separately. They also do not include a porter, tips, shopping, or personal spending outside the normal tea-house routine.
The goal is not to calculate every tea or shower in advance. It is to carry enough cash so you can eat properly, stay comfortable, and avoid worrying about money halfway through the trek.
Do Not Compare Treks Only by Package Price
A trek that looks cheaper may leave out permits, transport, accommodation, meals, or guide support. Another option may cost more at first but include essentials you would otherwise need to arrange separately.
Before comparing options, ask:
- What is included in the quoted price?
- What will I pay directly on the trail?
- Are permits, guide, transport, and accommodation included?
- Does the total include travel from India to Nepal?
- How much extra cash should I keep for meals and personal spending?
The best option is not always the cheapest package. It is the one where you clearly understand what you are paying for, what is not included, and how much extra money you should keep.
Step 6: Book Your Trek and Confirm the Details
Once your route, dates, and budget are clear, confirm your booking. This is when the company begins arranging the guide, permits, transport, and the basic plan for the route.
Book early for spring and autumn if you can. Guides, transport, and rooms in popular trekking areas become more limited in the busiest periods.
Confirm Your Dates and Group Size
Start by confirming your preferred dates and how many people are traveling. Group size can affect transport, room arrangements, guide pricing, and whether a group departure or a private trek suits you better.
Before paying, count your total time in Nepal — not only the trekking days. Include your arrival, the journey to the trailhead, and some flexibility after the trek.
Share Permit Details Carefully
Your agency will normally collect your document copy, photo, personal details, route, and dates for permit processing. Make sure the name and document number match your original passport or Voter ID exactly — even a small spelling mistake can create unnecessary delays later.
What a Good Trek Confirmation Should Include
After booking, you should receive clear written information (Final Trek Plan) about what has been arranged and what you need to do next. It should include:
- Your trek itinerary and confirmed dates
- What is included and what is not included
- Deposit and remaining payment details
- Your meeting point in Kathmandu or Pokhara
- Gear and packing guidance
- Expected cash spending on the trail
- Contact details for support before arrival
Read this confirmation before leaving India. You should know what to pack, how much cash to carry, where to meet your guide, and what still needs to be done before the trek starts.
Step 7: Prepare Your Gear, Cash, Fitness, and Insurance
You do not need expensive equipment or athlete-level fitness. But a little preparation makes the trek more comfortable and helps you feel more confident once you are on the trail.
What you need depends on your route, season, and altitude. A short autumn trek near Pokhara needs different clothing from a longer and colder route such as Everest Base Camp or the Annapurna Circuit.
Essential Trekking Gear
Pack for changing mountain weather. Mornings and evenings can be cold, afternoons can feel warm while walking, and rain or snow can appear depending on the season and route.
- Comfortable trekking shoes with good grip — ideally worn in before the trip
- Warm layers, including a fleece or insulated jacket
- A waterproof jacket and a rain cover for your bag
- Trekking trousers, gloves, a warm hat, and warm socks
- Sunglasses and sunscreen
- A reusable water bottle and a suitable water-treatment method
- A small daypack for items you need while walking
- Personal medicines, basic toiletries, and a power bank
Avoid packing too much. You will either carry the bag yourself or pay for a porter, so bring practical items you will actually use.
For a more detailed list, see our Nepal trekking packing checklist. It covers what to bring for different seasons, what you can rent in Kathmandu or Pokhara, and the items that are worth bringing from home.
Kathmandu and Pokhara are usually the easiest places to buy or rent trekking gear.
Cash and UPI: Use Both, But Do Not Rely on One
Arrange enough Nepalese rupees in Kathmandu or Pokhara before leaving for the trail. Keep your cash in more than one place in your bag, and do not depend fully on digital payments in mountain villages.
UPI can be useful in Kathmandu, Pokhara, and other towns where merchants accept a supported Fonepay QR code. Apps such as PhonePe, Google Pay, or Paytm may work for some city payments.
However, do not rely on UPI once you begin trekking. Tea houses may not accept cross-border UPI, and mobile data or Wi-Fi can be too weak for a payment to go through in higher or more remote areas.
For meals, drinks, and personal expenses on the trail, cash remains the safer option.
Basic Fitness Preparation
You do not need to be an experienced hiker to enjoy trekking in Nepal. But being comfortable with walking, climbing stairs, and moving uphill will make the first few days easier.
In the weeks before your trip, build a simple routine around:
- Regular walking
- Stair climbing or uphill walking
- Light cardio such as cycling, jogging, or brisk walking
- Short walks while carrying a light backpack
The goal is not to push yourself too hard. It is simply to get used to being active for several hours at a time. On the trail, walking steadily, resting properly, drinking enough water, and listening to your guide matter more than trying to walk faster than everyone else.
Travel Insurance
Before traveling, choose insurance that clearly covers the trek you are planning. Read the policy carefully and check that it covers:
- Trekking at the highest altitude on your route
- Medical treatment in Nepal
- Emergency evacuation, including helicopter rescue where needed
- The trekking activities included in your trip
Do not assume every travel-insurance policy covers high-altitude trekking automatically. Some policies have altitude limits or exclude trekking unless you choose extra cover.
For a step-by-step explanation of what to check before buying a policy, see our travel insurance guide for trekking in Nepal.
Step 8: Arrive in Nepal and Start the Trek
Once you arrive in Kathmandu or Pokhara, there are usually a few final things to complete before heading towards the mountains: meet your guide, confirm the travel plan to the trailhead, check that you have everything important, and make sure you understand what will happen over the first few days.
Ask questions now, not after you are already on the trail. It's much easier to clarify the route, gear, meals, daily walking time, or anything else that feels unclear before the trek begins than after.
Your Final Briefing
Before leaving the city, your guide or trekking company will usually go through the plan one more time. This may include:
- Confirming the itinerary and daily walking plan
- Checking that permits and documents are ready
- Confirming transport time and meeting point
- Reviewing your main clothing and equipment
- Explaining the first few days and answering last questions
This is also the last easy opportunity to buy or rent missing items before entering the mountains.
What Your Guide Will Help With
Your guide should help the group move safely and sensibly through the route. That usually means:
- Setting a pace that suits the route, altitude, and group
- Planning suitable daily stops and helping arrange tea-house rooms along the way
- Showing permits at checkpoints where needed
- Explaining the next day's walk and expected conditions
- Helping the group adjust if weather, transport, or trail conditions change
- Responding early if someone feels unwell or struggles with altitude
Experienced trekking guides don't rush people simply to follow a timetable. A sensible pace is more important than finishing a day as fast as possible.
Altitude, Weather, and Flexible Plans
Mountain plans do not always follow the original itinerary exactly. Weather, road delays, domestic-flight changes, trail conditions, and how people adjust to altitude can all affect the schedule. This is normal in the mountains.
Tell your guide early if you feel unwell, unusually tired, or uncomfortable at altitude. Do not stay quiet simply because other people in the group are continuing normally.
Changing the pace, taking an extra rest day, waiting out weather, or adjusting the route does not mean the trek is badly organized. In the mountains, those changes can be the safest and most responsible decision.
Once the trek begins, focus on walking steadily, resting properly, eating enough, and enjoying the places you pass through. A good trek is not only about finishing an itinerary exactly as planned. It is about completing the journey safely and enjoying the time you spend in the Himalayas.
Final Thoughts
Trekking in Nepal from India does not need to feel complicated. Once you choose a trek that fits your time, arrange the right documents, understand your budget, and leave room for changing mountain conditions, the journey becomes much easier to manage.
Once these basics are in place, do not overthink every part of the journey. Arrive with enough time, listen to your guide, walk at a sensible pace, and let the mountains set the rhythm.

Nima Tamang
Nima works on the operational and digital execution side of Nepwise Adventures, with hands-on involvement in how treks are planned, communicated, and delivered.
His role bridges on-ground trekking realities with platform workflows, ensuring that trip information, coordination, and traveler communication accurately reflect real trekking conditions in Nepal.


