Planning a Trek in Nepal? Here’s Exactly What to Do from Start to Finish

Every trek in Nepal begins long before you land in Kathmandu.
It begins when the idea first appears. Maybe you saw Everest in a documentary. Maybe a friend returned with stories about Annapurna. Maybe you are simply at a stage in life where you want to test yourself in the mountains.
But between that first thought and completing a trek safely, there are clear steps. Many people get overwhelmed because they search for answers in pieces. One website talks about permits. Another talks about gear. Someone else talks about altitude sickness. Very few explain the full journey in the right order.
This guide walks you through the entire process, step by step. From the moment you think about trekking in Nepal to the day you return home, here is exactly what you need to do.
Step 1: Be Clear About Why You Want to Trek
Before choosing a route, ask yourself one simple question: Why Nepal?
Is it:
- To see Mount Everest?
- To experience Himalayan culture?
- To disconnect from daily life?
- To challenge yourself physically?
- To tick something off your bucket list?
There is no wrong reason. But clarity here will make every later decision easier.
If your main goal is iconic scenery and you are comfortable with altitude, Everest Base Camp may suit you. If you want diverse landscapes and slightly lower maximum altitude, Annapurna Base Camp might be better. If you want fewer crowds and a quieter valley, Langtang could be ideal.
Do not choose a trek just because it is famous. Choose it because it matches your intention and your current fitness level.
Once that is clear, move forward.
Step 2: Choose the Right Trek Based on Time, Fitness, and Altitude
Now you begin practical evaluation.
Most first-time trekkers consider:
- Everest Base Camp (12–14 days, high altitude up to 5,364m)
- Annapurna Base Camp (7–12 days, up to 4,130m)
- Langtang Valley (7–10 days, up to 4,984m)
- Ghorepani Poon Hill (4–6 days, lower altitude)
Ask yourself:
- How many total days can I realistically allocate including travel?
- Have I been above 3,000 meters before?
- Can I walk 5–7 hours per day for multiple days?
- Do I prefer bus access or short mountain flights?
Do not underestimate altitude. Many strong hikers struggle not because of fitness but because they rush acclimatization.
Choose a route that feels slightly challenging but not extreme. The mountains will still be there next time.
Step 3: Understand the Legal Requirements and Permits
Trekking in Nepal is regulated. You cannot simply arrive and walk into the mountains without proper permits.
Most popular trekking areas require:
- National Park or Conservation Area Permit
- Local municipal or rural entry fees
- In many regions, a registered guide
Certain areas like Upper Mustang or Manaslu require special permits and must be arranged through licensed agencies.
Permit systems change occasionally. Always confirm current requirements with a licensed guide, trekking agency, or the Nepal Tourism Board.
Do not treat permits as formalities. They are important for safety, record-keeping, and environmental protection.
Understand this early in your planning.
Step 4: Decide How You Want to Trek (Your Trekking Model)
There are three main ways to organize your trek.
1. Fully Organized (All-inclusive) Package
Everything is arranged in advance. Permits, guide, accommodation, meals, logistics. You pay one combined price.
Best for:
- First-time trekkers
- People with limited time
- Those who want minimal daily decisions
You must hire a guide, which usually means booking through a registered trekking agency. You can find these online (international or local) or in Kathmandu. Local agencies are usually more affordable and the money stays in the country.
2. Semi-Independent Trek
You arrange essential logistics including permits, guide, and transportation through a trekking agency, but pay for meals and accommodation directly on the trail.
Best for:
- Travelers who want flexibility
- Those who enjoy managing daily expenses
- People who want a balance between structure and freedom
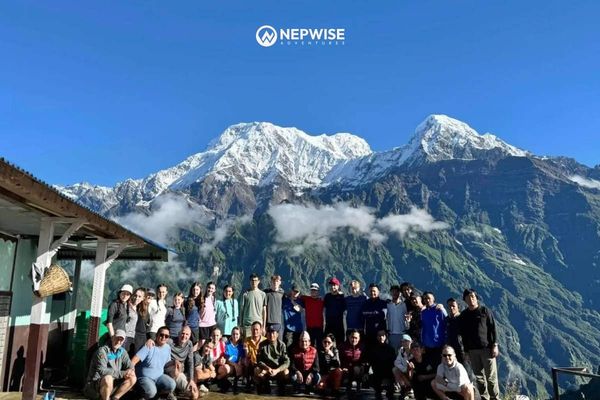
Nepwise Adventures is best known for the semi-independent trekking model, though it also offers all-inclusive treks for tailored experiences.
3. Fully Self-Organized
You handle permits and logistics yourself and walk without structured daily support.
This is becoming less common due to regulations and safety expectations. It is not recommended, especially for first-time visitors or remote regions.
Choose the model that fits your comfort level. Clarity here affects budget and preparation.
Step 5: Build a Realistic Budget

Many people underestimate or overestimate the cost of trekking in Nepal.
Here are the main expense categories:
- International flights
- Nepal visa on arrival
- Permits and park fees
- Guide and porter fees (if applicable)
- Domestic flights or ground transport
- Accommodation and meals during trek
- Travel insurance (including helicopter evacuation coverage)
- Gear purchase or rental
- Personal expenses (charging, hot showers, snacks, WiFi)
Daily expenses increase as you gain altitude because everything must be carried up by porters or animals.
Plan a buffer amount. Weather delays, especially in Everest region flights, are common. Extra nights in Kathmandu or Lukla sometimes happen.
A realistic budget reduces stress. Trekking is more enjoyable when you are not constantly calculating.
Step 6: Secure Travel Insurance
This is one area where you should not compromise.
Your insurance should cover:
- High altitude trekking (check altitude limit carefully)
- Emergency evacuation
- Medical treatment
- Trip delays
Helicopter evacuation from high altitude can cost thousands of dollars. Without proper insurance, this becomes a serious financial issue.
Buy insurance before you travel. Keep both digital and printed copies accessible.
Step 7: Prepare Physically and Mentally
You do not need to be an athlete. But you do need preparation. Start at least 8–10 weeks before your trek:
- Walk regularly, increasing distance gradually
- Use stairs or hills
- Train with a light backpack
- Build leg strength and core stability
- Improve cardiovascular endurance
Mental preparation matters equally.
Understand that:
- Some days will feel hard
- Weather can change
- Accommodation can be simple
- Hot showers are not always guaranteed
- WiFi may be limited
When expectations are realistic, small discomforts feel manageable.
Step 8: Pack Smart, Not Heavy
Overpacking is one of the most common mistakes.
Essential packing checklist include:
- Good quality trekking boots
- Layered clothing system
- Down jacket
- Waterproof outer layer
- Warm hat and gloves
- Sleeping bag (appropriate rating)
- Trekking poles
- Headlamp
- Basic first aid kit
- Personal medications
- Water purification tablets or filter
- Power bank
Do not bring unnecessary items. Every extra kilogram feels heavier at altitude.
If you hire a porter, remember ethical weight limits. Most porters carry up to 20–25 kg shared between two trekkers.
Respect their effort.
Step 9: Arrival in Nepal and Pre-Trek Preparation
Most treks begin from Kathmandu or Pokhara.
Upon arrival:
- Obtain your visa (if not arranged in advance)
- Meet your guide or agency representative
- Confirm permits
- Check gear
- Exchange local currency
- Attend a short briefing
For Everest region, flights to Lukla depend on weather. Keep buffer days at the end of your trip. Do not schedule your international departure immediately after your planned trek completion date.
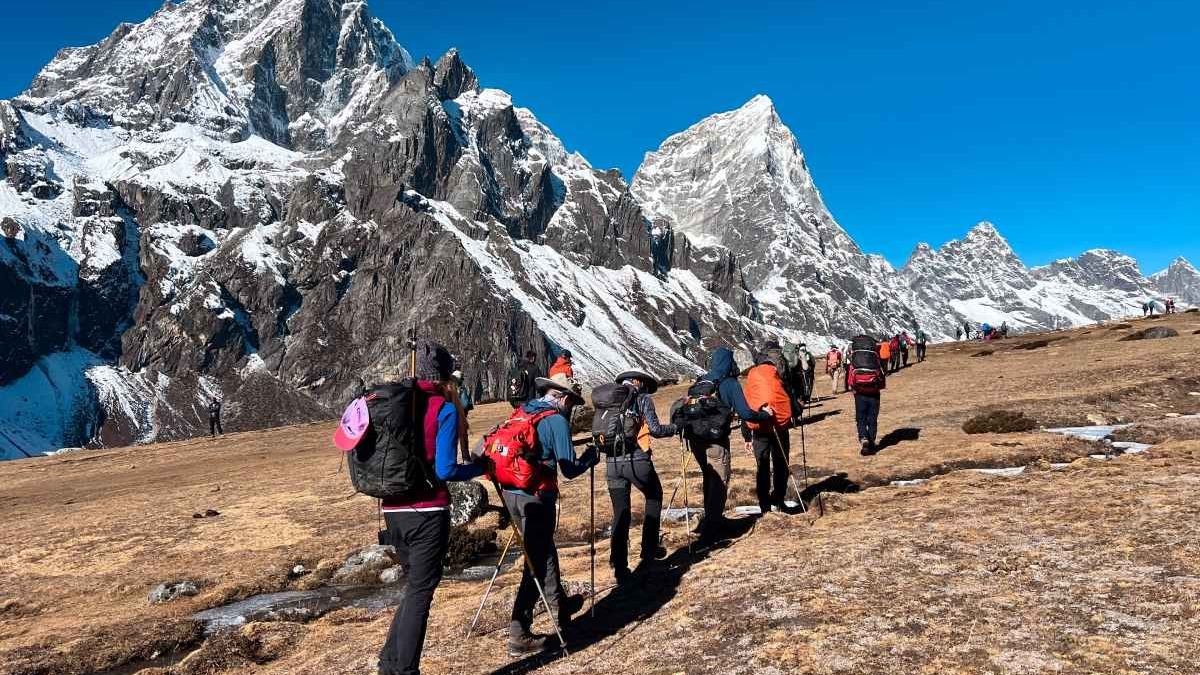
Step 10: Starting the Trek – The First Few Days
The first days are about pacing.
Many trekkers walk too fast at the beginning because they feel strong. Slow down. Walk steadily. Drink water regularly.
Follow your guide’s advice regarding:
- Daily walking duration
- Acclimatization days
- Rest stops
- Meal timing
Acclimatization is not optional. It is built into most itineraries for a reason. Your body needs time to adjust to decreasing oxygen levels.
Step 11: Understanding Daily Life on the Trail
Teahouse trekking is common in Nepal.
Accommodation is simple:
- Basic rooms
- Twin beds
- Shared bathrooms in many places
Meals are usually served in a common dining hall.
Popular food includes:
- Dal bhat (rice, lentils, vegetables)
- Noodles
- Fried rice
- Soup
- Pancakes
- Tea and coffee
At higher altitudes, prices increase because goods are transported by porters or animals.
Electricity charging and hot showers may require additional payment.
Accept the simplicity. That simplicity is part of the experience.
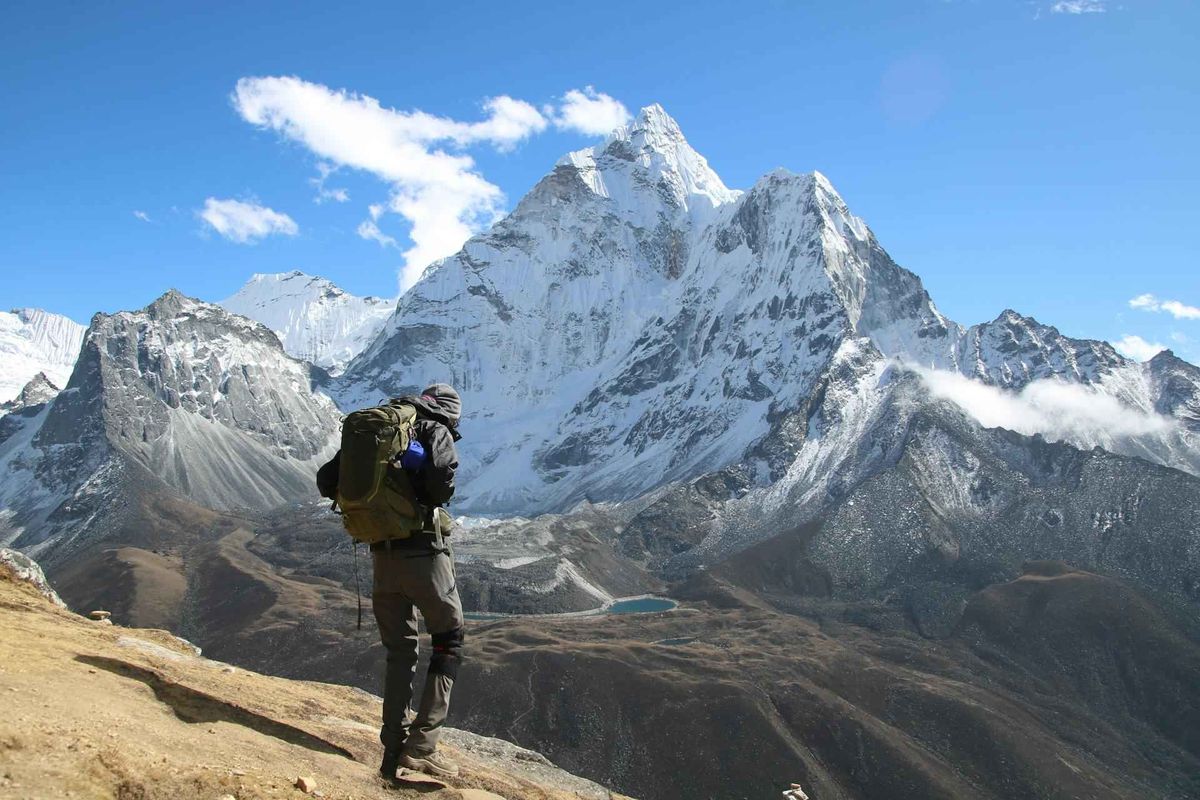
Step 12: Altitude Awareness and Decision-Making
Altitude sickness can affect anyone, regardless of fitness.
Common symptoms:
- Headache
- Nausea
- Dizziness
- Loss of appetite
- Fatigue
If symptoms worsen, descending is the safest option.
Never ignore serious symptoms. A good guide will monitor the group and adjust plans if necessary.
Summit views are not worth long-term health risks.
Your safety always comes first.
Step 13: Cultural Respect and Responsible Trekking
Nepal is not just mountains. It is home to communities.
Respect local customs:
- Dress modestly in villages
- Ask before photographing people
- Remove shoes before entering homes or monasteries
Avoid single-use plastics when possible. Carry your waste responsibly. Support local teahouses and businesses. Small respectful actions create positive impact.
Step 14: Completing the Trek
The final days feel different.
You may feel proud. Emotional. Quiet.
Your body has adapted. Your mind has slowed down.
When you return to the trailhead and then to the city, allow yourself time to transition. Many trekkers feel a mix of accomplishment and calm. Celebrate, but also rest.
Step 15: Returning Home Safely
Before flying home:
- Confirm your international flight
- Allow rest days
- Check weather delays if applicable
- Organize souvenirs and gear
Once home, recovery may take a few days. Hydrate well. Stretch. Reflect.
Many people begin planning their next trek soon after.
Final Thoughts
Planning a trek in Nepal does not need to be confusing.
When you follow the steps in order, the process becomes simple.
The mountains are powerful, but they are not chaotic. They reward patience, preparation, and humility.
If you approach your trek with respect and clarity, you will return home not only with photos, but with a deeper confidence in yourself.
And that journey begins with one clear decision — to plan it properly from the start.

Sanjiv Jaiswal
Sanjiv leads technology and experience at Nepwise Adventures.
He works closely with guides, operators, and trekkers to design systems that bring clarity to trekking logistics, pricing, and planning. His work focuses on making complex aspects of trekking in Nepal more transparent and understandable.